Learn how to make a cute, simple DIY fairy lantern with this step-by-step tutorial. Perfect for crafters of all ages.

Perhaps you’re a lover of folklore and mythology, or maybe you have Scottish heritage you proudly wear. Whatever the reason, making a fairy lantern can be a satisfying and fun way to incorporate a little bit of fae into your cottage.
Whether you’re naturally creative or have never crafted in your life, I’ll show you how to make a fairy lantern you’ll love.
Fairy History
Fairies (faeries) are mythical, tiny creatures known for being magical and romantic. Enchanting and alluring, legend says these creatures can also be quite mischievous, too. Fairies originated in Europe—Scotland, Ireland, France, and Germany, to name a few. Some stories of fairies are rather frightening and even describe the hostile and cruel actions they allegedly took on mortals.
Alternatively, many stories show them in a softer light, depicting them as pure and kind, which is probably how most people these days view them. I personally love the idea of the sweet and innocent fairies described in some Northern European texts. The angelic fairy fluttering its wings, eager to offer help or a word of advice to a lost or wandering soul has such a special place in my heart. Feminine and magical, I’m convinced they’re the most precious tiny creatures on earth.
What are Fairy Lanterns?
Fairy lanterns are basically an enclosed fairy garden, just for our fae friends. They’re sometimes created solely for decorative purposes, but some make them as a way to honor the legendary fae, providing them light or shelter in an outside garden or simply just honoring their legendary reputation in the comfort of a quaint cottage.
While I love the idea of an outdoor fairy lantern, this tutorial will focus specifically on making an indoor lantern that won’t have to face the elements of Mother Nature.
Supplies – DIY Fairy Lantern
Hot glue gun with sticks
Lantern
Glitter or sequins, optional
Pebbles
Twigs, hay, or straw (or store-bought nest)
Fairy figurine(s)
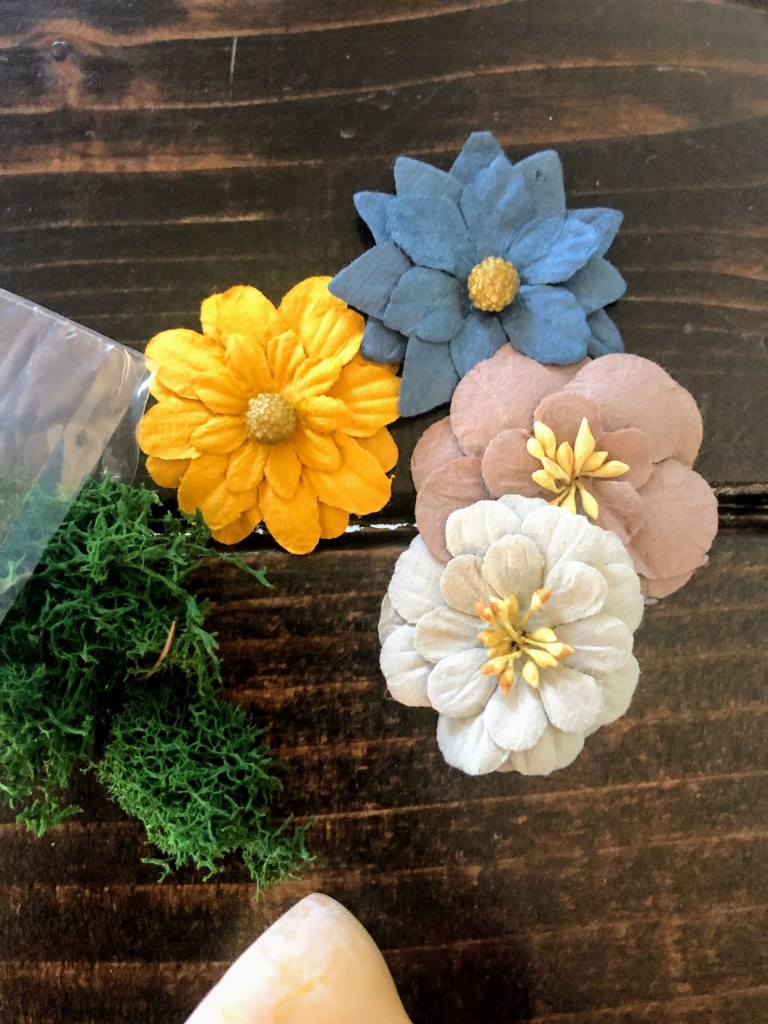
Mini faux flowers and leaves
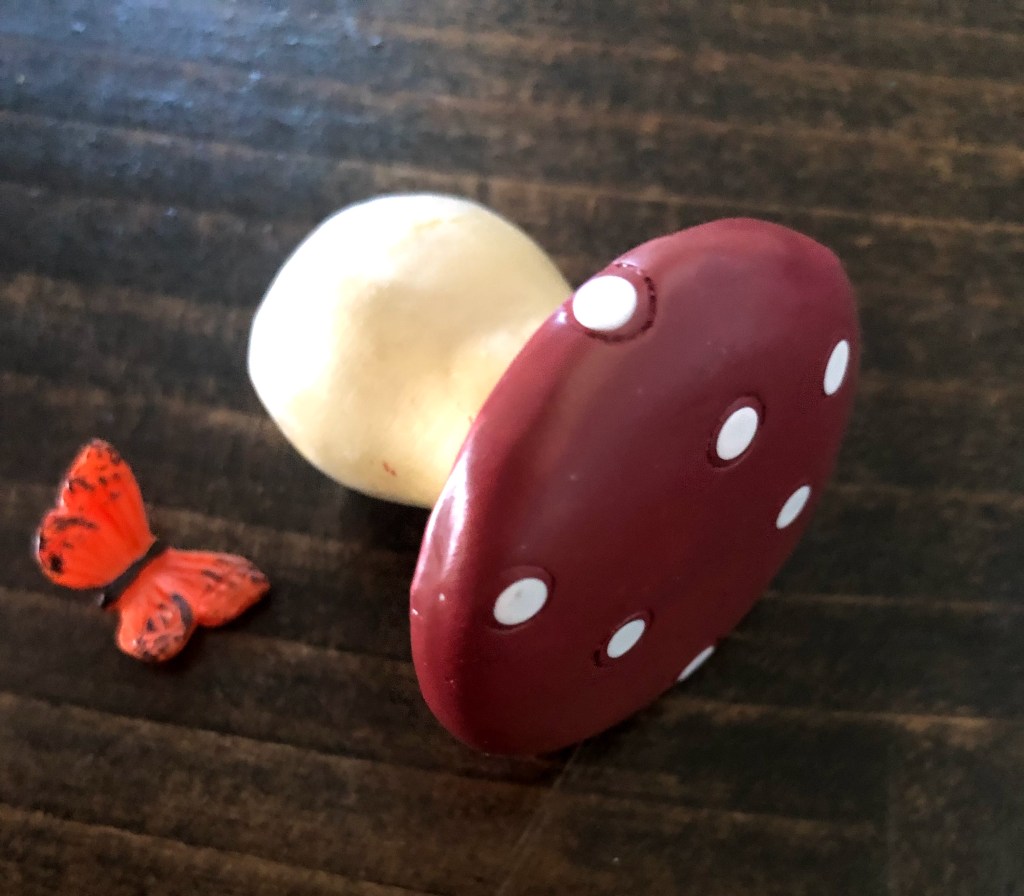
Miniature fairy garden mushrooms, optional
Faux moss
Fairy lights, optional
I highly recommend looking for fairy figurines and other fairy pieces for your lantern at Michael’s craft store. I buy so many of my craft supplies here, and I love their fairy selection.

Steps – DIY Fairy Lantern
1. Take a damp, clean cloth and gently wipe your lantern clean. You’ll want to make sure there isn’t any dust so your glue sticks well to the lantern and items don’t fall off.
2. Turn on your hot glue gun, and once it’s ready add a few small dots of glue to the bottom of your lantern. Quickly begin adding your moss, patting it in place. Try to leave a spot open for gluing your nest to the lantern glass later. Add in any leaves or flowers at this point. If you wait until after the nest is added, it may be harder to work around without damaging.
3. Next, be sure to decide which side of the lantern you want to be the front, so everything is organized around this one side.
4. If you don’t have a nest already made, you can make one using straw or hay and twigs from outside. I purchased one from a craft store, but a handmade one will work nicely. Make a bowl with the straw, creating a small dip in the center that acts as the nesting area for your fairy. You can then hot glue twigs around the outside to make it even more rustic and authentic.
5. Now glue the nest to the bottom of the lantern, pressing down gently. You may need to rearrange some of the moss at this point, which is fine. It is great for covering up any ugly glue that could be showing from underneath the nest.
6. Glue any ornamentals to the nest including mushrooms, flowers, leaves, sequins, or pebbles.
7. Glue any ornamentals to the upper sides of your lantern, or sprinkle in some glitter on top of or around the nest.
8. Nestle the fairy into its proper place, being sure to add extra glue. This will likely be your heaviest piece, so be careful. You won’t want your fae to topple over and injure itself later.

Finals thoughts…
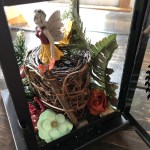
Your new fairy lantern will look great on a shelf or a side table, but it could even be placed on a covered porch outside too.
Making a fairy lantern can be as simple or complicated as you make it. If you’ve chosen a more complicated route, you’ve probably donned yours with extra touches like glitter, extra mini figurines, and fairy lights. But a classic fairy lantern is simple, consisting of natural elements that any fae would be enticed by. Whichever you have chosen will be brilliant and will do just fine for your home.
Don’t judge your completed lantern by its size or complexity but instead learn to appreciate it for what it is. What you have crafted by hand will mean so much to you when you look up at it on a shelf in the future. The act of creating is always time well spent, and for that the end product won’t go unappreciated.

More Craft Inspiration
Create a Thanksgiving Tablescape
DIY Fairy Lantern
Learn how to make this cute, simple DIY fairy lantern with this step-by-step tutorial. Perfect for crafters of all ages.
- Hot glue gun
- hot glue gun glue sticks
- lantern
- fairy figurine
- fairy nest
- faux flowers
- faux moss
- mini fairy garden mushrooms
- pebbles
- glitter or sequins (optional)
- fairy lights (optional)
Take a damp, clean cloth and gently wipe your lantern clean. You’ll want to make sure there isn’t any dust so your glue sticks well to the lantern and items don’t fall off.
Turn on your hot glue gun, and once it’s ready add a few small dots of glue to the bottom of your lantern. Quickly begin adding your moss, patting it in place. Try to leave a spot open for gluing your nest to the lantern glass later. Add in any leaves or flowers at this point. If you wait until after the nest is added, it may be harder to work around without damaging.
Next, be sure to decide which side of the lantern you want to be the front, so everything is organized around this one side.
If you're buying a pre-made nest, skip to the next step. For a homemade nest, make a bowl with the straw, creating a small dip in the center that acts as the nesting area for your fairy. Shape it with your fingers. You can then hot glue twigs around the outside to make it even more rustic and authentic.
Now glue the nest to the bottom of the lantern, pressing down gently. You may need to rearrange some of the moss at this point, which is fine. It is great for covering up any ugly glue that could be showing from underneath the nest.
Glue any ornamentals to the nest including mushrooms, flowers, leaves, sequins, or pebbles.
Glue any ornamentals to the upper sides of your lantern, or sprinkle in some glitter on top of or around the nest.
Nestle the fairy into its proper place, being sure to add extra glue. This will likely be your heaviest piece, so be careful. You won’t want your fae to topple over and injure itself later. Let dry for 30 minutes before attempting to move it.
Allow all the materials to fully dry before moving the lantern. Some of these materials may take extra time to dry. Treat the lantern as a delicate item when moving, so nothing falls out of place after gluing.

7 thoughts on “DIY Fairy Lantern”