Learn exactly how to create an aged DIY textured vase using items you already have on hand. This baking soda paint hack is great for updating cheap or plain vases.
This post may contain affiliate links. Please read our disclosure policy.
We’ve all seen them. Stunning stone vases that look like they’re straight from Pottery Barn on display in someone’s home. Or maybe you’ve been in one of the department stores that sells them. They are not cheap. But gorgeous they are.
I’ve been fascinated with pieces of art like this for years, eyeing antique pottery or handmade pieces from local artisans. These aged stone vases take a certain skill to make, which usually results in a hefty price tag.
As much as I love to support local artisans, I just cannot afford expensive pieces like this.
That in mind, it seemed to inspire the artist in me who is so quickly drawn to the aged stone style. Which meant I had to figure out a way to turn some of my old, cheap vases into something that looked somewhat like these classic antique ones.
After a bit of research, I discovered it was essentially just a combination of baking soda and paint that would need to be painted over a vase to create the look of textured stoneware.
That almost sounded too good to be true.
Since it was such a cheap project, I didn’t have much to lose.
I perused Google and YouTube for advice from other makers, but later found I needed to make adjustments to the baking soda measurement. I also perfected my own technique to get a more authentic stone vase texture than some others I had seen online from other DIYers.
After procuring some non-toxic paint and finding the perfect colors (I wanted to paint each of the vases two different colors), I set off on a mission to make DIY textured vases.
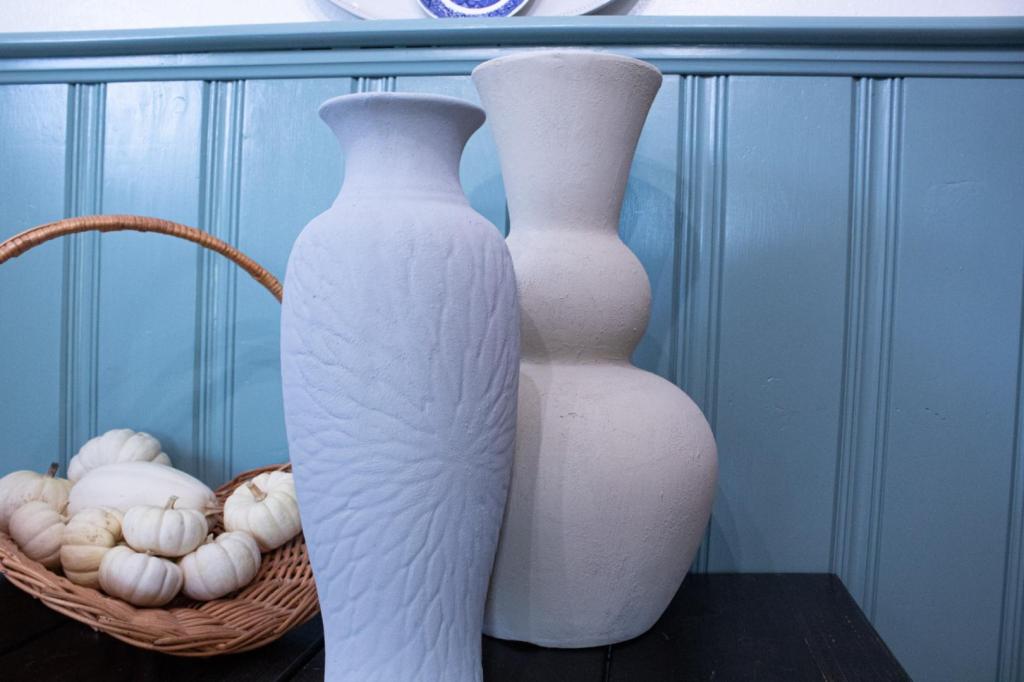
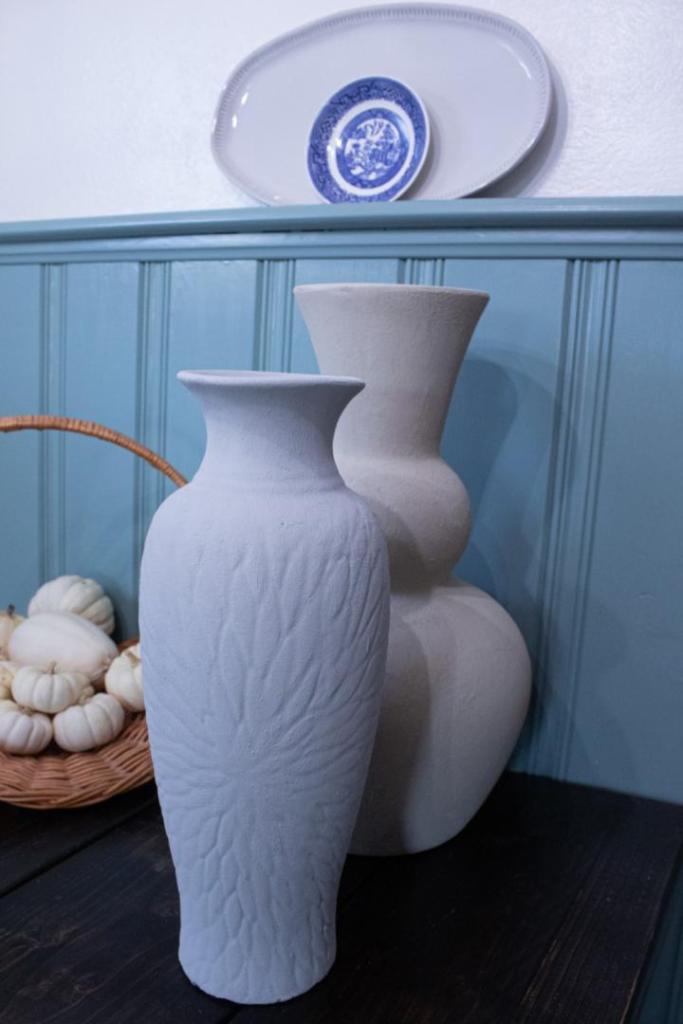
With just a couple hours of time and a handful of ingredients, I was able to turn these two cheap vases into elegant pieces that emulate aged, vintage stone vases.
They sure are remarkable. Neutral. Easy to decorate most rooms with. Realistic looking. Elegant.
So, let’s turn a vase into art with this baking soda paint hack… Come see how I did it.
DIY Textured Vase with baking soda and paint
Do I have to use a certain type of vase?
No. You can also use a ceramic, glass, or metal vase, though I personally used a ceramic and a metal one. You can still reach the desired effect with any of these. Just be sure that if it’s made from a metal that it’s a non-rusting kind. Any of these can create really sophisticated results. Use whatever you already own.
Supplies
Paint brush (larger pieces will require a larger brush)
Rags
Old vases or glass bottles
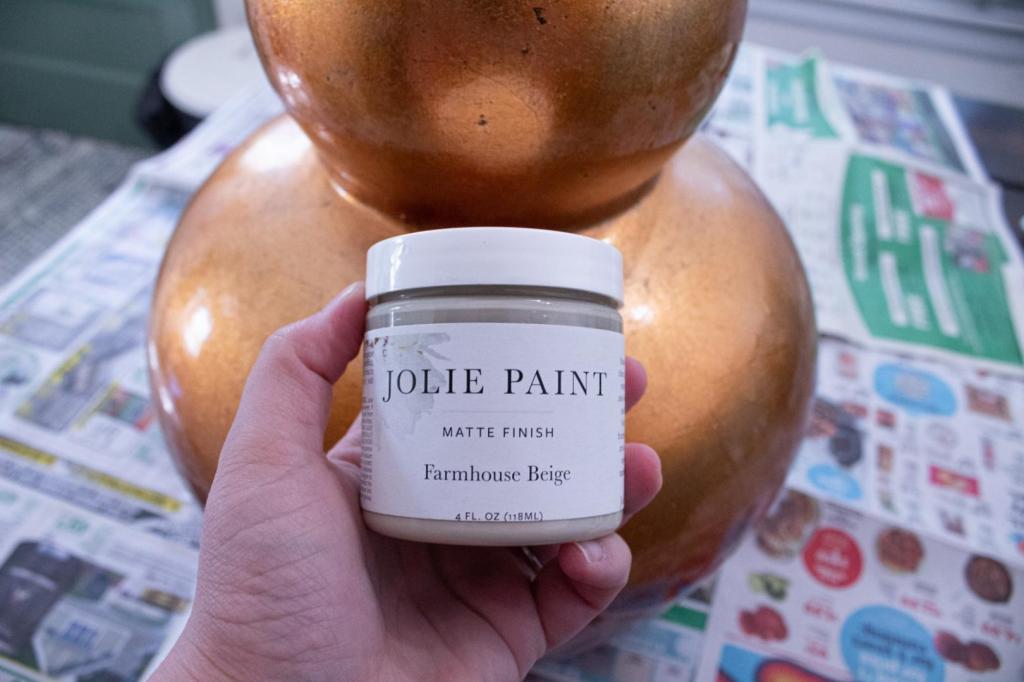
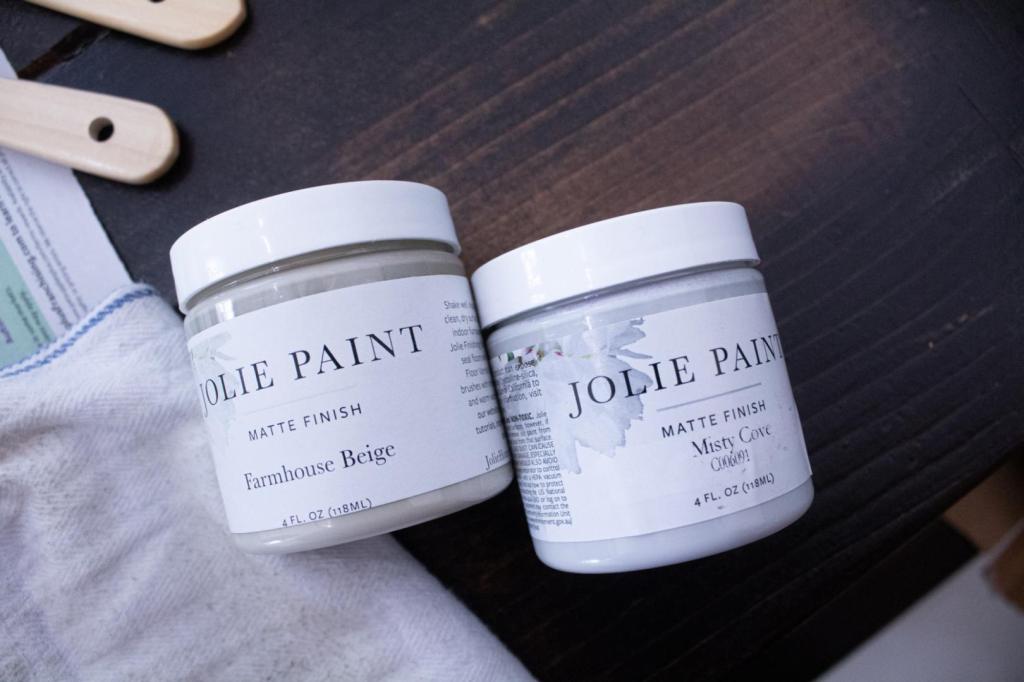
Paint of choice I used this Farmhouse Beige Jolie Paint HERE and this Misty Cove Jolie Paint HERE
Baking soda (about 4 teaspoons per ¼ cup of paint)
Paper plate or an old mug
Newspaper

Steps for DIY Textured Vase
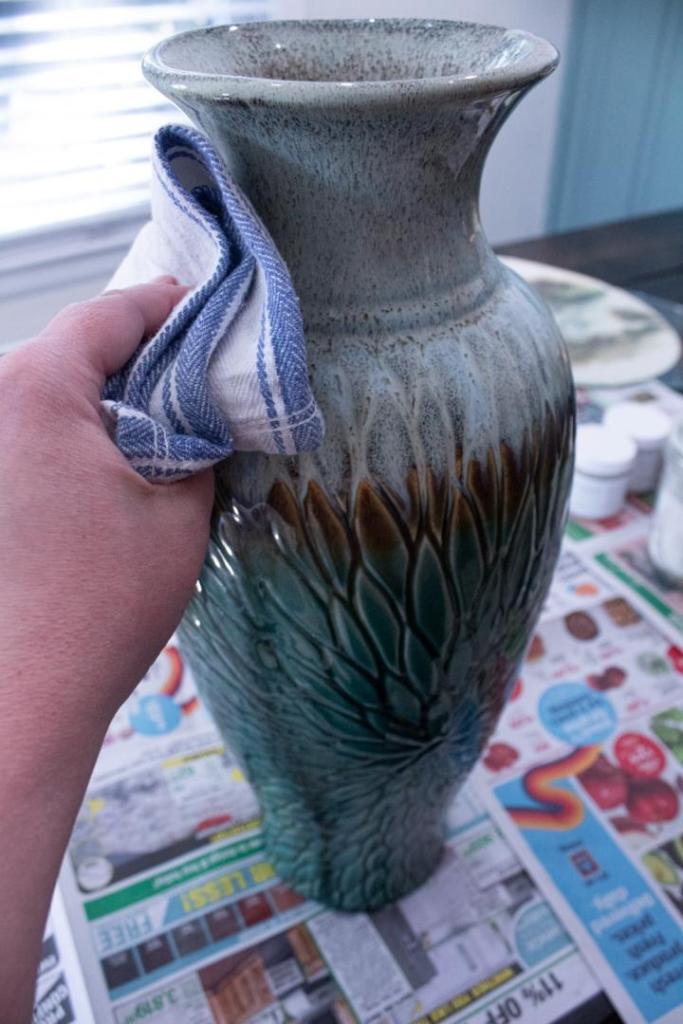
Clean
Wipe the vase down using an old rag. Be certain it is free from dust and dirt before you begin working. If you need a cleaning agent, use a 1:1 ratio of vinegar-water. You don’t want any of this sticking in the paint. Then lay down newspaper to prevent paint from getting on your table.
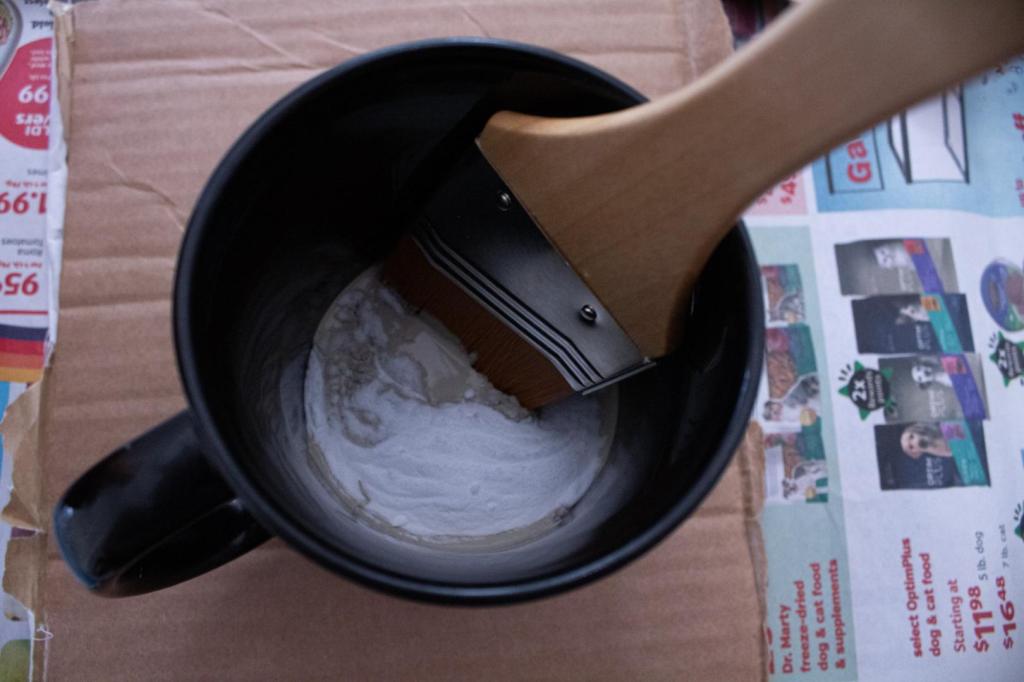
Mix ingredients
Measure out 4 teaspoons of baking soda and ¼ cup of paint. Mix the baking soda with the paint on your paper plate. (Since we don’t buy paper plates, I used an old mug I’m dedicating to mixing paint for art projects.) After you combine these, the paint mixture will start to slightly bubble and thicken.
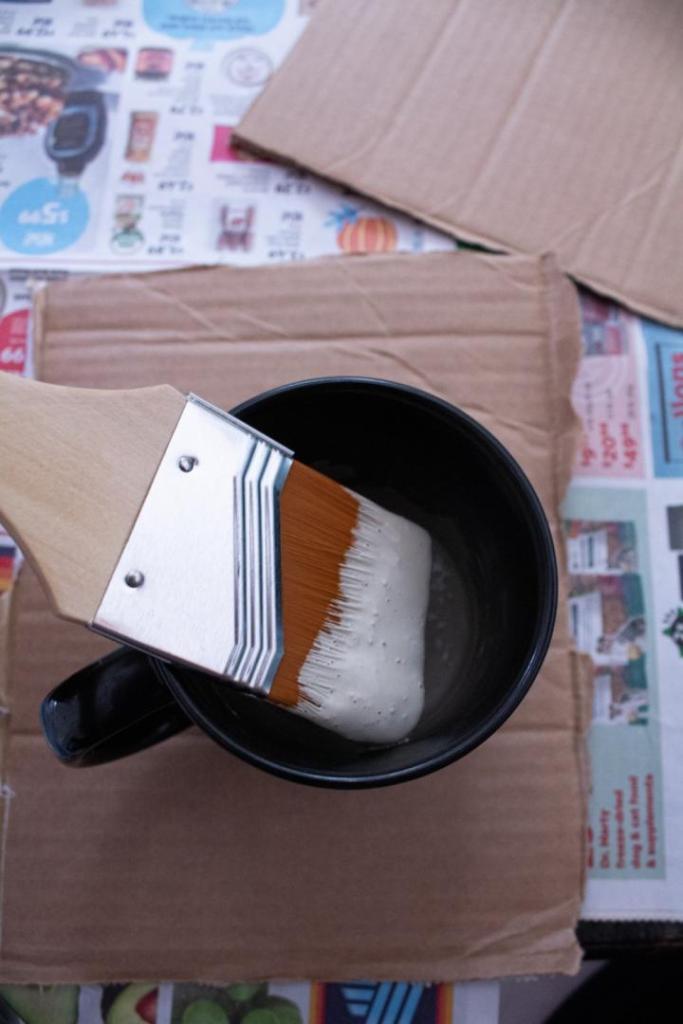
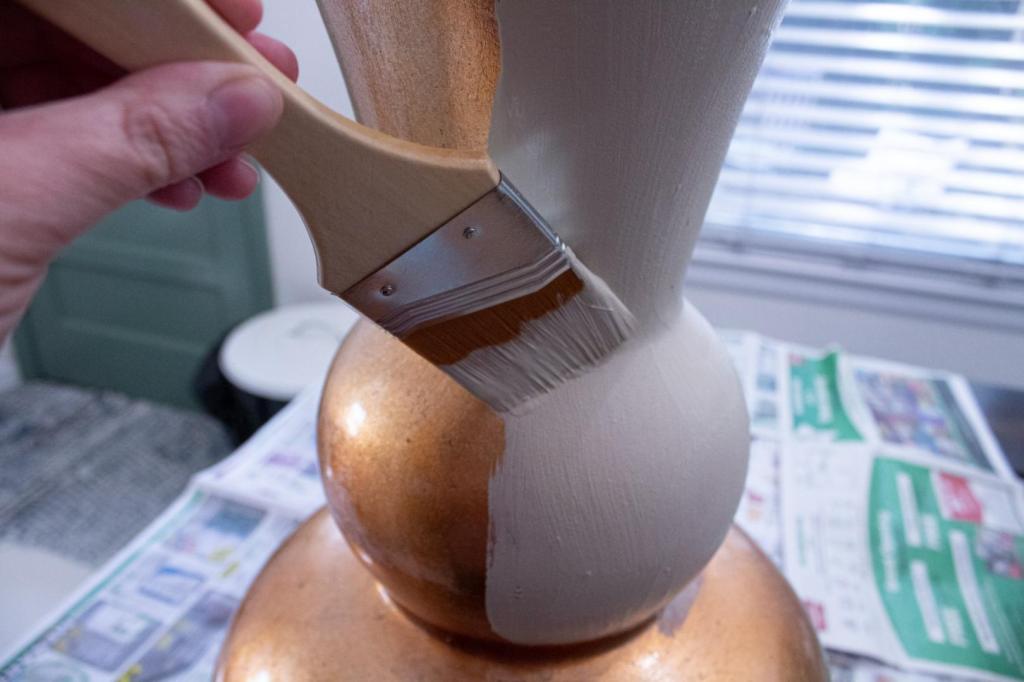
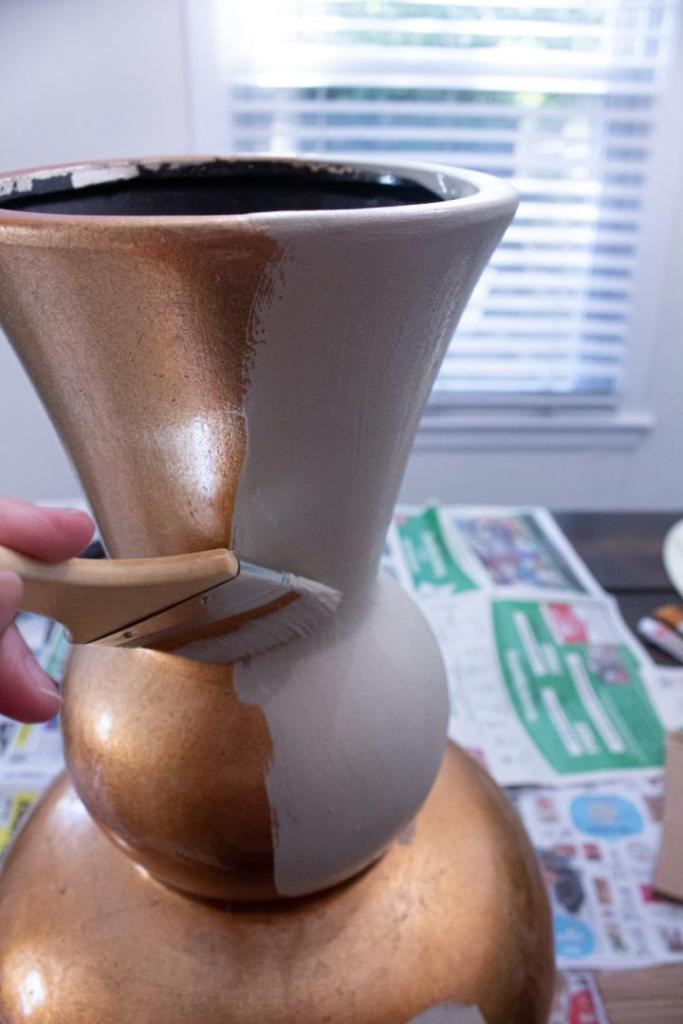
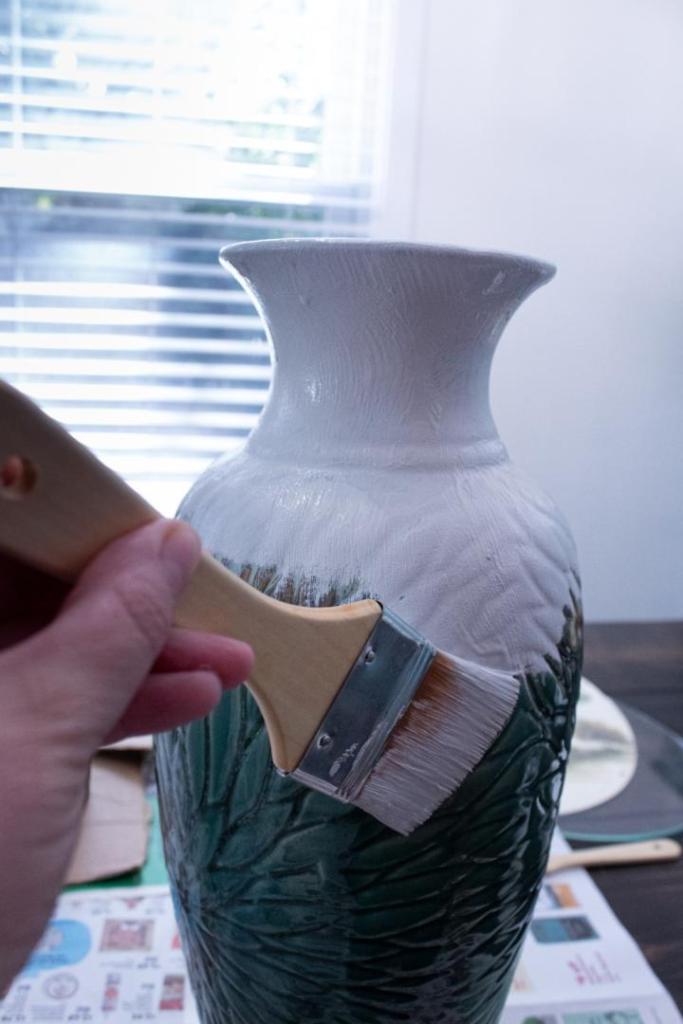
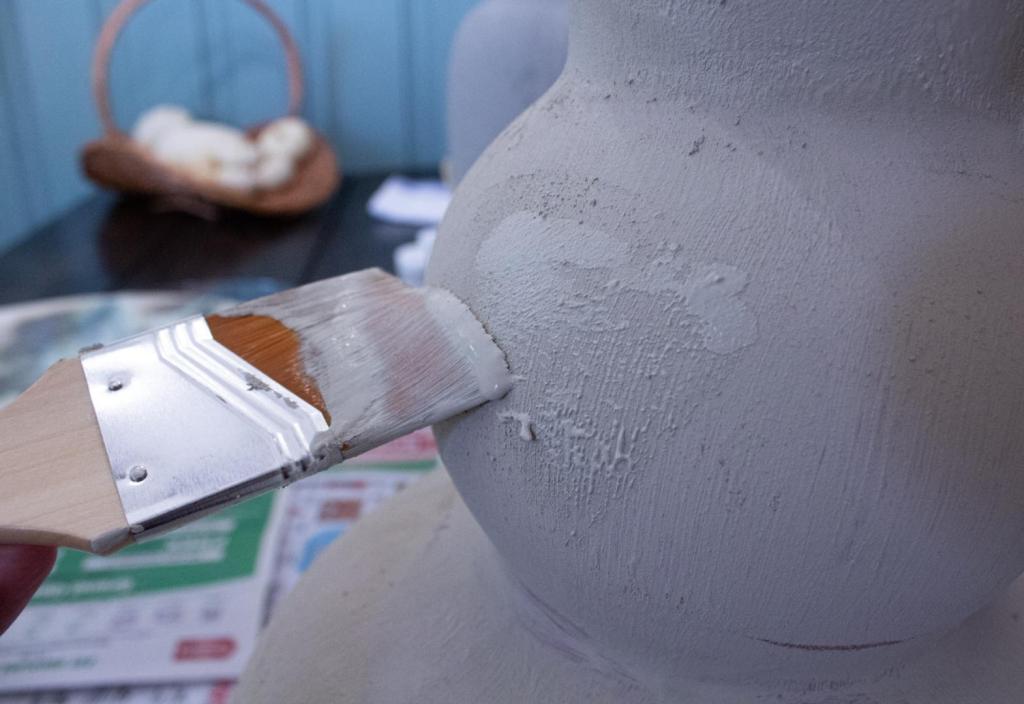
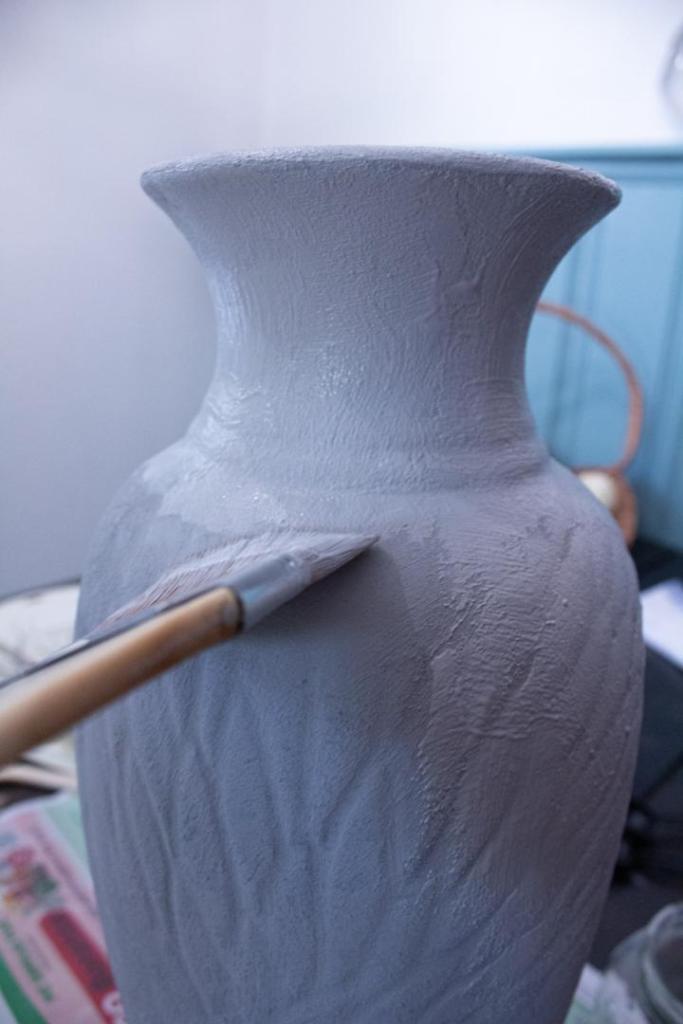
Paint
Using a paint brush, begin applying a thin layer of your paint mixture to the vase in even strokes. I recommend using a paint that looks really nice and neutral. Softer, muted colors can be added to just about any room.
As you’re applying it, it may not immediately look textured. After I finished painting the vase, while it was still a bit tacky, I took my brush and quickly dry brushed it with my paint brush in various directions to kind of create more texture. Do not do this when it is still wet or you’ll end up wiping paint off. The trick is doing it while it’s tacky, not wet or dry yet. It may initially look messy from this technique, but once it’s dry it’ll look much better and have lots of texture that we’re going for.
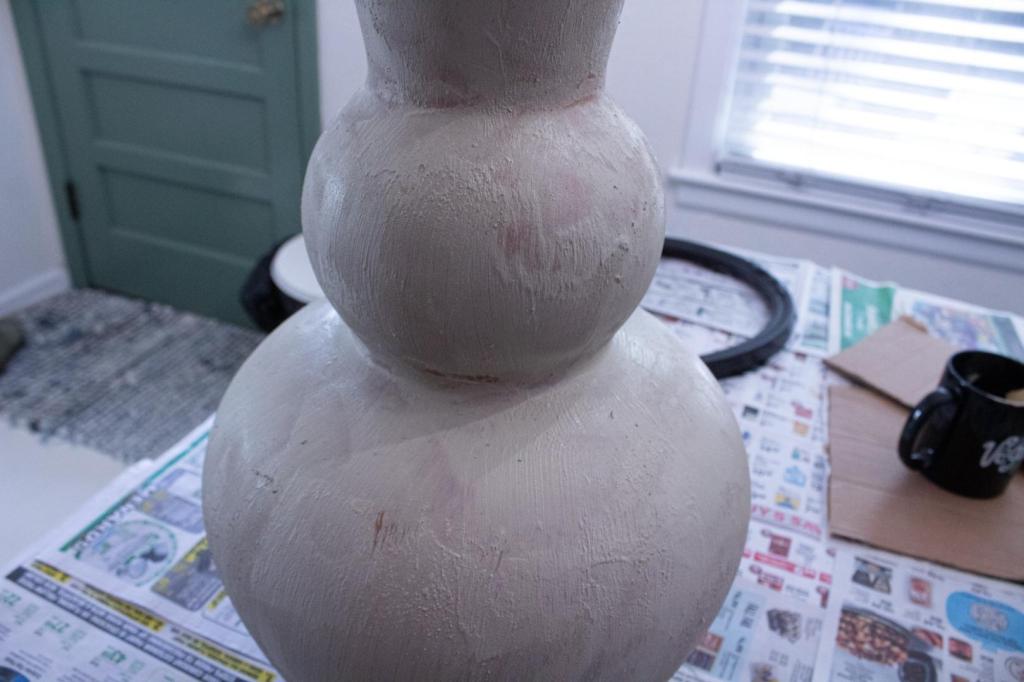
After applying the paint all over, let it dry for at least an hour until it is dry to the touch.
Reapply
You will more than likely need to apply a second layer to your vase. Even if you don’t need to paint the entire surface of it, you’ll need to touch up some spots and may want to try adding more texture with the same technique mentioned in the previous step. Repeat the previous step until you get the desired effect. Let dry for at least an hour, or until it is dry to the touch.
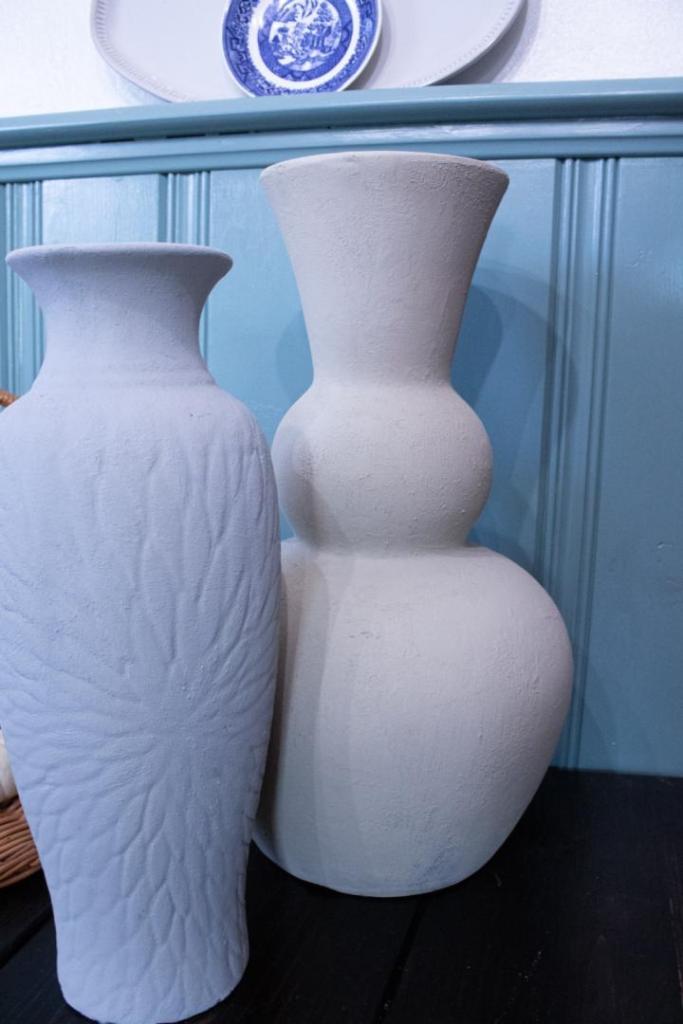
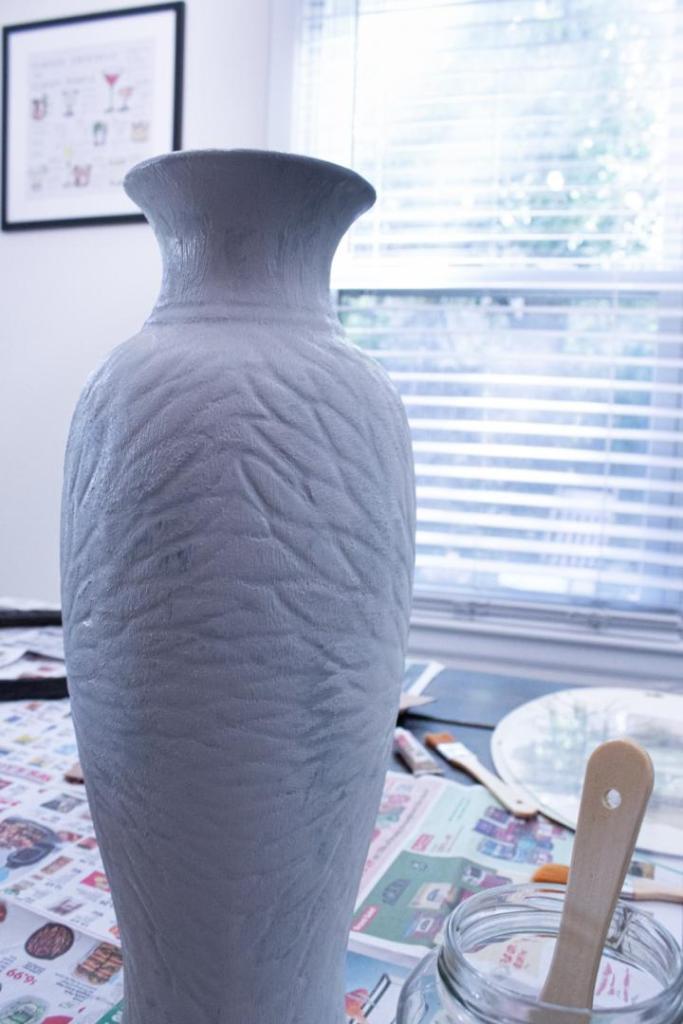
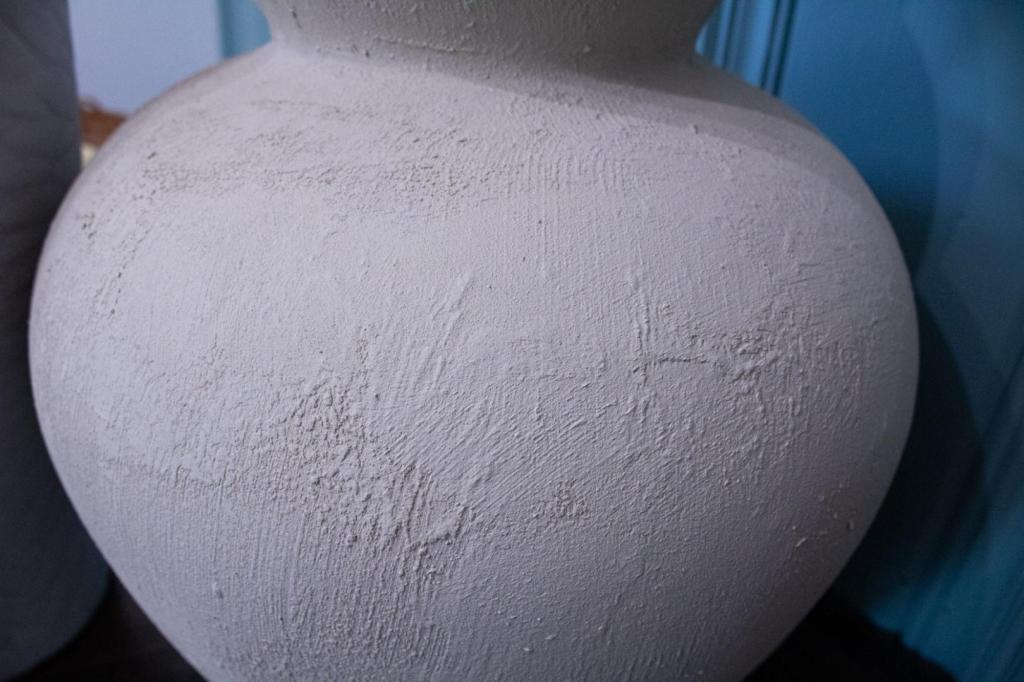
Once it completely dries, the vase will have a texture to it, looking aged and more like a clay/stone material, which is exactly what we are going for.
Tips for DIY Textured Vase
Don’t be afraid to experiment with different paint colors. I’ve seen these done so many different ways. A softer, reddish-toned paint can be used to give it a terra cotta effect. Using shades of grays can make it appear like concrete stone. Get creative!

The more baking soda you add, the more it will “bubble up,” giving it the textured effect. If you find it’s lacking texture, just add a little more baking soda, one teaspoon at a time, until you reach the desired consistency/effect.
More DIY Inspiration
How to Make the Perfect Fall Wreath
Easy Thanksgiving Tablescape Ideas
Scandinavian Christmas Tree Decorating

3 thoughts on “DIY Textured Vase with baking soda and paint”