Discover all the best beginner painting tips right here. This easy guide will have you painting like a pro in no time…
Painting is one of those endeavors most of us loathe. Especially if the world of painting is entirely new to you. Enter: The Best Beginner Painting Tips.
Most of us love the idea of a freshly painted room or home, but once we take into consideration the prep work, the time invested, and decisions to be made it’s easy to feel discouraged.
However, painting is one of the most affordable and easiest ways to update a home.
The transformations a few coats of paint can make are tremendous. For example, check out how I transformed our dining area with mainly just paint and a few pieces of new decor.
These beginner painting tips can even be used for painting floors, doors, trim, and more. Paint is so versatile.
Nevertheless, there are still some things to prepare for, especially if you’re a beginner. Here are my best beginner painting tips…

Beginner Painting Tips
Skip the tape | beginner painting tips
One of the best painting tips for beginners: Invest in artist brushes instead of tape. I love to use these artist brushes I picked up from a craft store for only $6. They come with 25 different small brushes of varying thicknesses, shapes, sizes, and angles. They’re also reusable as long as you wash them well after each use.
Particularly, these should be used when painting in corners, edges, or any other finely detailed areas where woodwork may have finer details in them.
I don’t use tape because it’s more trouble than it’s worth. I’ve tried the more expensive ones, too, and have never been impressed. Many times, once peeled, the tape tears off some of the paint or even gets stuck under it. It’s a nuisance to remove…
I end up having to touch up areas with these artist brushes afterward anyway, so might as well skip it all together. Plus, taping takes so much time to do. I just don’t have the patience.
Alternatively, you could learn how to cut in using an angled sash brush.
Get samples first | beginner painting tips
One of the best painting tips for beginners: get samples.
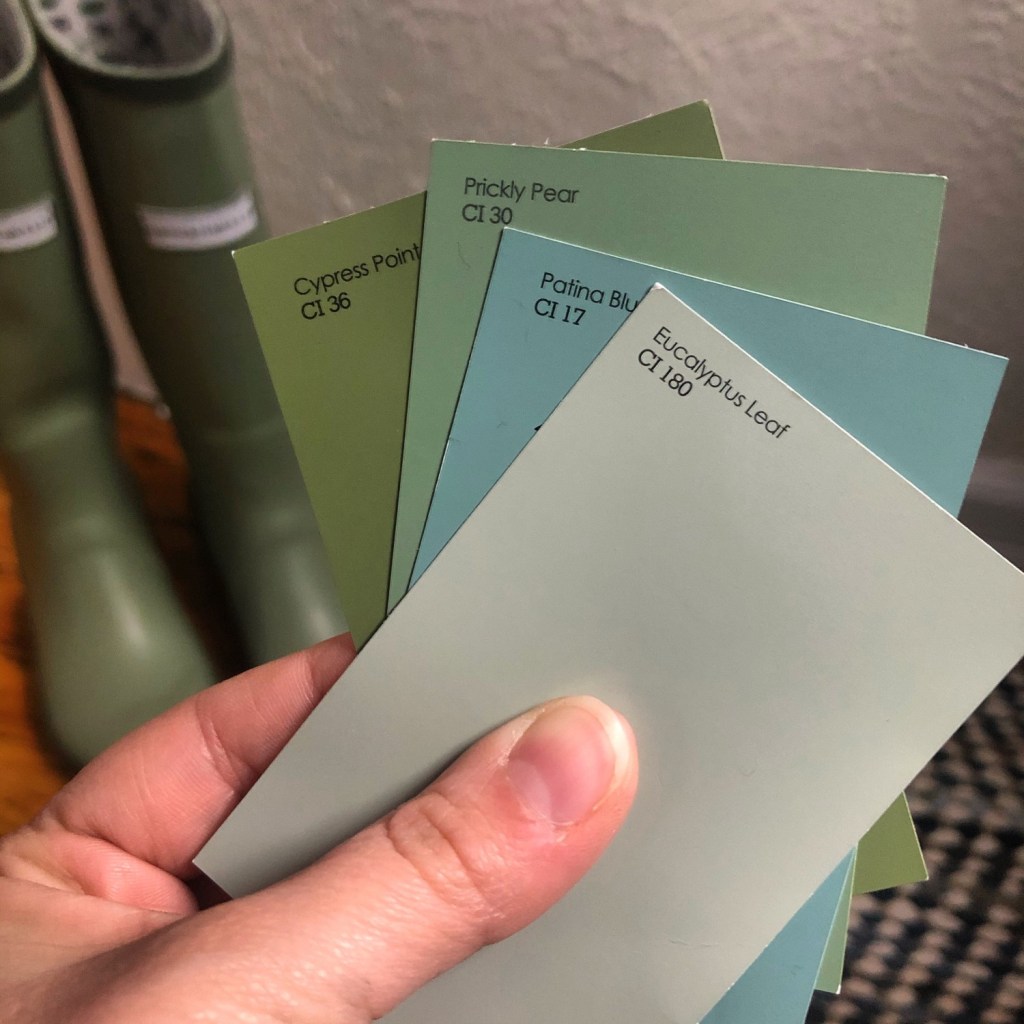
I love going to the paint section at hardware stores to grab different colors to create a palette for a room I’m designing. (I have more on creating color palettes in this post HERE.) This will help you decide which color you want for the walls or whatever else you’re painting.

Get creative and try different hues of one color. Occasionally, a bold color will look nice as it provides a pop of contrast against other colors. After you go home and think it over, decide on a color(s). Then, you’re ready to grab a small sample size to test.
I ignored this advice so many times and had to repaint two bedrooms because the colors were too bright. Always, always check this first. Make sure the color looks right in the room you’re painting. Check is against other colors in the room (that includes floors, ceilings, and trim). Then check it with the different lighting throughout different times of day.
Paint colors can change the perception of the size or lighting of a room completely. Whites can lighten and open up spaces, while darker colors can make them seem cozier and dramatic.
Maybe the room you’re painting has amazing natural lighting. After painting a wall, the color might appear much lighter than what you were going for.
Our old house has so many patched holes in the walls that were poorly sanded and show up terribly with the dark hunter green we painted one bedroom with. So certain colors can certainly highlight imperfections like this more than others.
This is why you should always bring a sample home first to see how it looks on your walls.
Paint a small section of the wall and wait until it dries. Then paint another coat, let that dry, and decide if it’s right for you.
Does it go with the furniture you’re putting in the room? Does it complement the decor you’ll be adding? How does the color look different with hardwood floors versus carpeted?
These are all things you need to ask yourself before purchasing an entire gallon of paint and spending hours painting a room.
Choose semi-gloss paint with primer | beginner painting tips
Another of the best painting tips includes choosing a semi-gloss sheen (for high-traffic areas) and using primer. When selecting a paint and taking your can to the counter, the paint assistant will ask you a slew of questions. Be prepared for these, so you aren’t too caught off guard and clueless about what to pick.
First you will be asked which sheen you want. I recommend using a semi-gloss because it’s easier to clean if something splatters on it. There may be a case where you may prefer a matte or eggshell (if you don’t need a particularly shiny finish or it’s a low-traffic area in general), or even a high gloss (cabinets, for example) but this is my go-to.

I also recommend selecting a paint that has primer already in it because who has the patience for yet another step in the painting process? Primer helps paint stick well to the surface and seals the color in, protecting it better…
You’ll also hopefully be painting less coats with primer.
Trust me, it’s worth the investment to use primer. Do not opt for no primer at all thinking you can save a few dollars. (Unless you want to be painting it again in the near future.)
Lastly, you’ll be asked if it’s interior or exterior paint. This should be simple because they’re just asking if it’s for inside the home or for the outside.
Preferences on brands
I’ve used BEHR, Valspar, and a couple others I can’t think of at the moment. But no single brand has made a huge difference to me.
It’s much wiser to pay more attention to the sheen/gloss and whether there’s primer in it. When in doubt about the quality of the paint, select a middle-tiered paint. That is usually a safe bet!
How much paint is needed?
Paint is usually sold in quarts or gallons, but I’ve also seen half gallons and tiny pints. Honestly, almost all the projects I’ve done I’ve needed a gallon at least. It’s better to have extra in case touch-ups are needed down the line or you need one more coat than assumed.
Sure, you can always use an online calculator to help get you started. But I always get gallon sizes unless it’s for a small project like a side table or something like that. It’s kind of something you learn to estimate as you get more experience painting.
Prepare to paint several coats spanning over a couple of days | beginner painting tips
Painting walls, ceilings, floors, and whatnot will require more than one coat. Unless, of course, you’re painting something the same exact color. Otherwise plan on it taking two coats for color and three coats for whites.

If you use a primer (or have a 2-in-1 paint and primer), this should help and require less coats of paint in general. Be prepared for this to take more than one day, though. I’ve sometimes been able to paint two coats in one day if I paint my first one early in the day and second one late in the day. But I almost always have to at least touch up certain spots if not add another layer of paint the next day.
You do not want to layer on thicker layers either. Be patient. Thick layers will just make it less even and encourage more dripping (which looks unprofessional and can be annoying to fix), taking longer to dry.
Use rollers for larger spaces | beginner painting tips

One of the more obvious painting tips: Use a roller.
This may seem like common sense, but I hate using them so I almost always try to find a way out (or I recruit my husband to do the rolling, and I just touch up the edges). The reason I’m not keen on them is they always seem to get stuck in the paint tray liners, or paint will harden around the rollers making a huge caked-on mess. This leaves it hard and messy to pull off the roller cover.
Maybe I just haven’t found the best paint roller products yet, who knows.
That being said, they save major time when you’re painting walls in a large room. It only makes sense to use them. You can even get extensions for painting ceilings.
Those stubborn covers that are hard to pull off? Just wrap a plastic bag around them when pulling them off. This method is less messy.
Invest in higher-quality brushes you can wash and reuse many times

I don’t love making a million trips to the hardware store, even if it is 5 minutes away. Maybe it’s laziness, maybe it’s efficiency. But I much prefer paying a few dollars more for a brush I can easily wash with soap and hot water and reuse again many, many times. This saves me time and money in the long run.
I try not to buy disposable things and instead make more eco-friendly choices. This is just one small habit (that has also grown into other small habits) that I’ve incorporated into my life to create less waste in the world.
Honestly, I can spend $10 on a brush and have it last me months, painting numerous projects/rooms. On the other hand, I could choose to spend $2 on a brush and replace it ten times in that same amount of time and spend twice as much overall.
Every dollar counts, in my opinion. I have gotten in the habit of reusing things for this reason. Invest in higher-quality items when renovating your home. They will save you in the long run. They last SO much longer.
Store brushes you’ll use again later in the day in a wrapped plastic bag
My grandpa actually taught me this hack. Basically, if you have a roller that you’re going to be using the same day or even the next, instead of replacing it to use a new one, wrap it tightly in a plastic bag and store it for later use.
This may seem cheap, but honestly it’s been useful when I have been out of rollers and didn’t want to run to the hardware store yet again for “just one thing.” Sometimes these little hacks can feel like lifesavers.
You could even do this with a brush as well, but I prefer just washing them with hot water and soap for reusing later. Either way, I’m all about low waste and prefer reusing what I can.
Use reusable cloth drop cloths | beginner painting tips
Drop cloths are great for catching paint that spills from cans or drips from a brush or wall. Somehow, paint always likes to flick off my brush onto a nearby floor, so a drop cloth always comes in handy for me.
The cloth ones are so thick and can be used over and over again. Plastic ones are an okay option, too. They should be non-slip and cover a large area.
Simply cover the area you’ll be working in beforehand and smooth out extra cloth in high traffic areas so no one trips.
Have a wet, soapy cloth towel ready at all times
I can’t say how many times a wet towel has come in handy when painting. Somehow, no matter how well the floor is covered, I splatter some across the room or on another wall and need to quickly wipe away the excess paint. Just be sure you catch it soon, otherwise you may need a razor to get it off hardwood floors after it dries.
To prevent this, make long strokes, spreading paint thin for faster drying and less streaks.

If you’ve never painted a room before, or you’ve always seemed to get less than desirable results, you may need to focus on painting light, even, long strokes. This ensures an even spread and allows paint to dry faster, so you can possibly paint another coat later in the day.
You’ll have less streaks and clumps of paint with this method, too.
More DIY Project Inspiration
Everything You Need to Know About Home Renovations | Part One
Everything You Need to Know About Home Renovations | Part Two
How to Lay Hexagonal Floor Tiles

7 thoughts on “The Best Beginner Painting Tips”