Learn my top 5 best pie crust tips for the perfect pie crust every time. With the holidays in full swing, you’ll want to save these for later!
This post may contain affiliate links. Please read our disclosure policy.
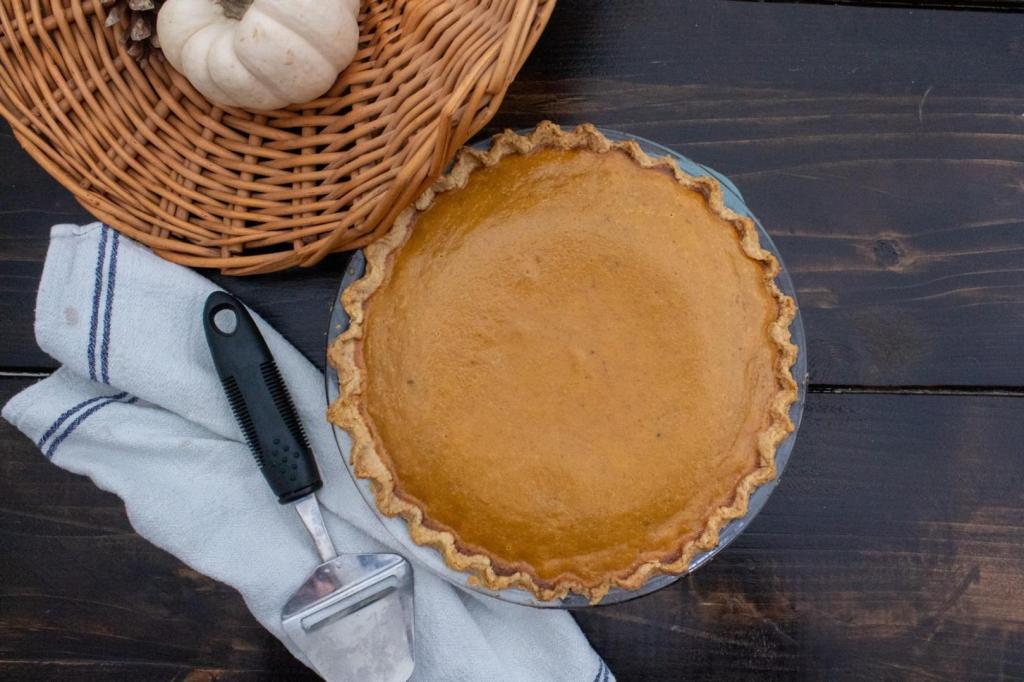
It is officially pie-baking season. Or at least for me it is. I am all about from-scratch pies more than anything else around the holidays, and just in general in the winter season. Something about them is so rustic and cozy.
You can get as fancy or as basic as you want without too much trouble.
That being said, there is definitely an art (and science) to pie making.
In order to make a delicious pie, it is essential to get the crust right every time. If the crust is tough or stodgy, it will definitely affect the overall taste and texture of the pie. A pie crust can either make or break a pie recipe…
I, myself, have made some pie crust mistakes in the past. Boy, did I learn from them.
I remember one year several years back I made two pies during a holiday: one pumpkin and one cherry. I had made the mistake of over mixing the dough, in addition to not keeping the dough chilled throughout the entire process. The pies ended up being edible, but the crust was definitely tough and not very fun to eat. So then I began my quest for the perfect pie crust. I am one to try to correct my mistakes, and as a baker I just couldn’t let this go.
Now I create flaky, buttery crusts each and every time.
The reason I am able to seamlessly craft a great crust is because I follow a very specific set of pie crust tips that I have learned over the years.
Many of these pie crust tips I learned from other bakers online, and some of these I learned myself from trial and error.
Come see which pie crust tips are worth keeping for a tasty, melt-in-your-mouth pie experience you won’t be able to get over. I promise you will learn a thing or two!
Best Pie Crust Tips
Chill all utensils beforehand | Best Pie Crust Tips
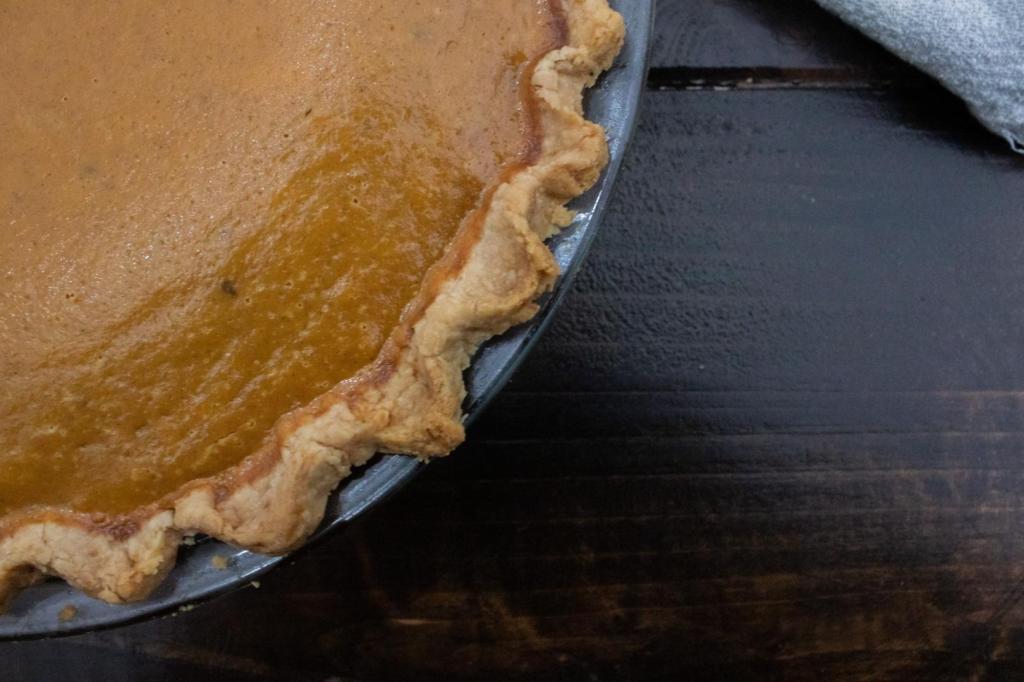
One of the first important tips I have to create a flaky crust is to chill all utensils before making the pie dough. The reason for this is because the key to creating a flaky crust is having a cold dough. When the cold dough hits the heat of the oven, the crust is then able to bake in light, crisp layers. This creates the flaky effect.
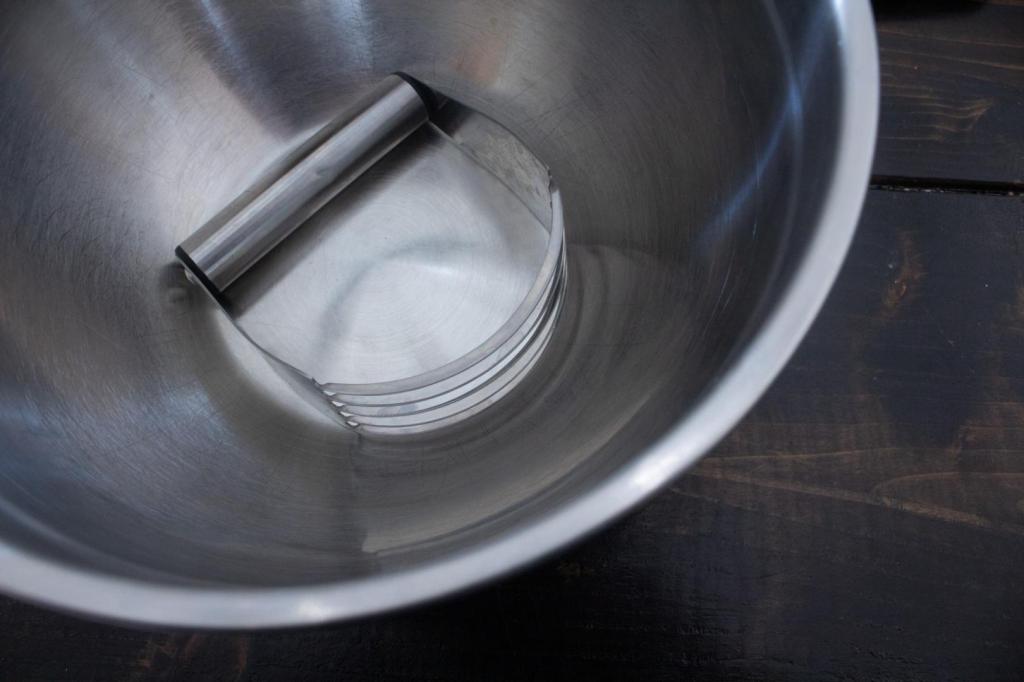
It is best to chill anything you use including the pastry blender, bowl, and rolling pin. I have even chilled a cutting board before if I rolled the dough out on that. Trust me, it makes a difference.
Use a combination of shortening and butter | Best Pie Crust Tips

I personally like to use half shortening and half butter when making a pie dough. For one, butter tastes really good in any dessert and is the go-to ingredient for the flakiest crust. It also provides a sturdier structure to hold its shape and prevent breakage when the filling is added to the pie.
However, adding half shortening allows the crust to be more tender, which is also important when making a pie crust. In short, butter adds the best flavor, but a combination of the two creates the prefect texture for a pie.
Use ice water to incorporate dough | Best Pie Crust Tips
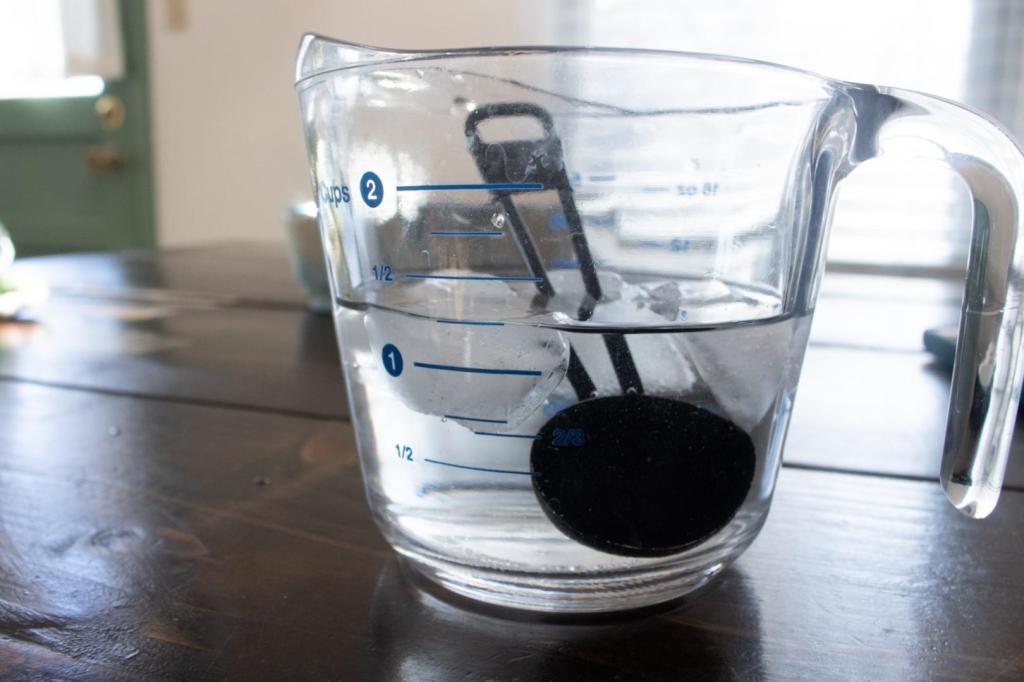
Again, you’ll need cold dough. If there’s anything you should remember today, it’s that the dough must remain cold throughout the process. One way I ensure this happens, especially in warmer months, is to add ice cubes to the water that I use to incorporate in the dough.
Most recipes require a good deal of butter and shortening to make the dough. But water, usually 3-4 tablespoons, is needed to pull it all together. Otherwise the dough will be too dry and crumbly.
I fill a liquid measuring cup with water, add a few ice cubes, and then use a tablespoon measuring spoon to scoop out the amount of water I need (leaving the ice cubes behind).
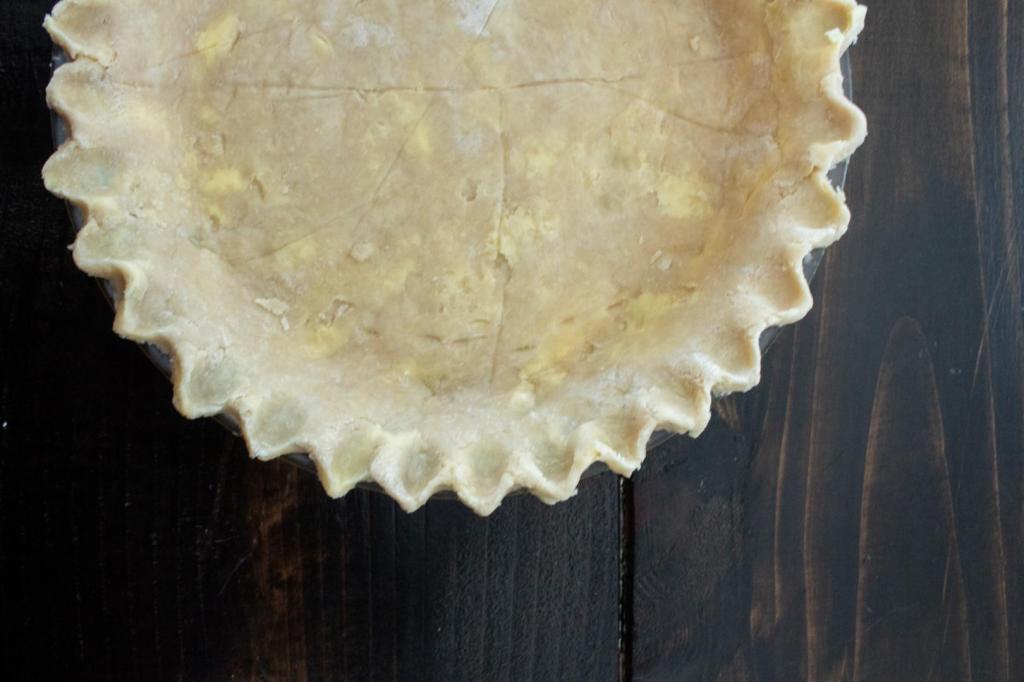
Chill pie dough before and after rolling out | Best Pie Crust Tips
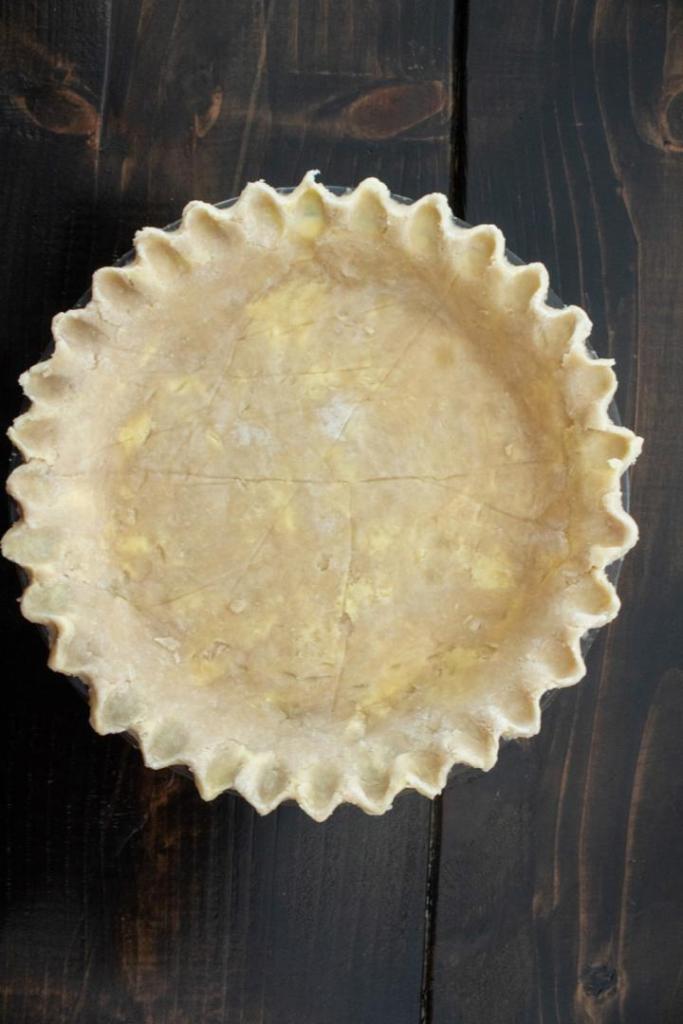
In addition to chilling utensils, you will also need to chill the pie dough after rolling it out. Popping it in the fridge or freezer for 30 minutes just before baking creates the flaky crust we’re all after.
Additionally, I like to go the extra mile and chill it in the fridge before I even roll it out, just after combining ingredients and forming it into a ball. This is especially helpful if you’ve forgotten to chill utensils beforehand or if your home is particularly warm. It may seem like overkill, but it ensures the dough stays cold.
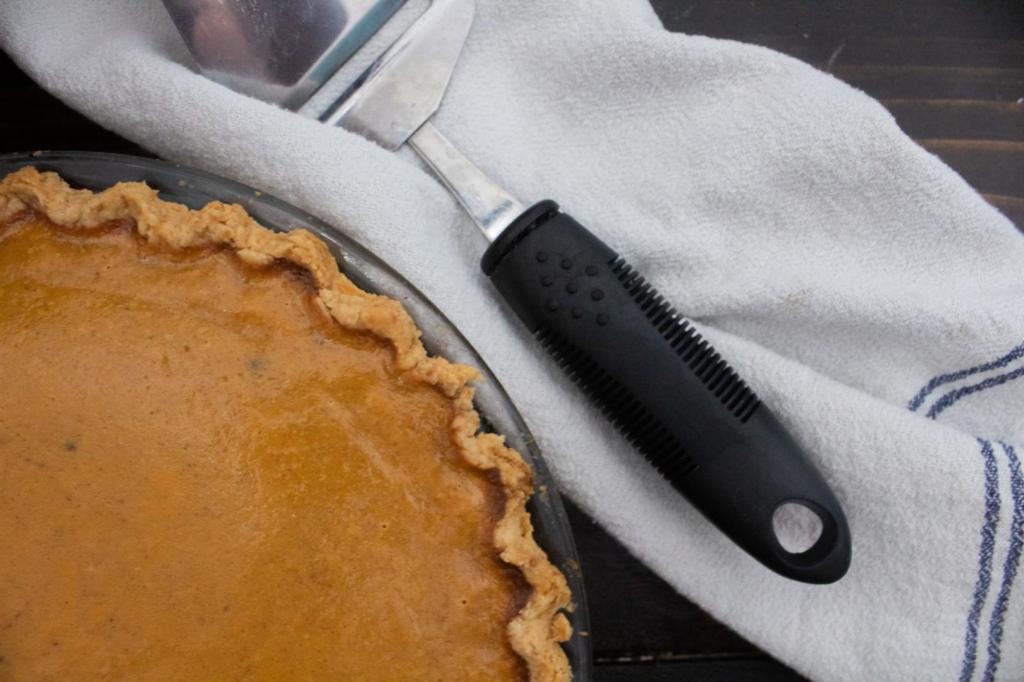
Use pie shields to prevent overbrowning and burnt crust | Best Pie Crust Tips
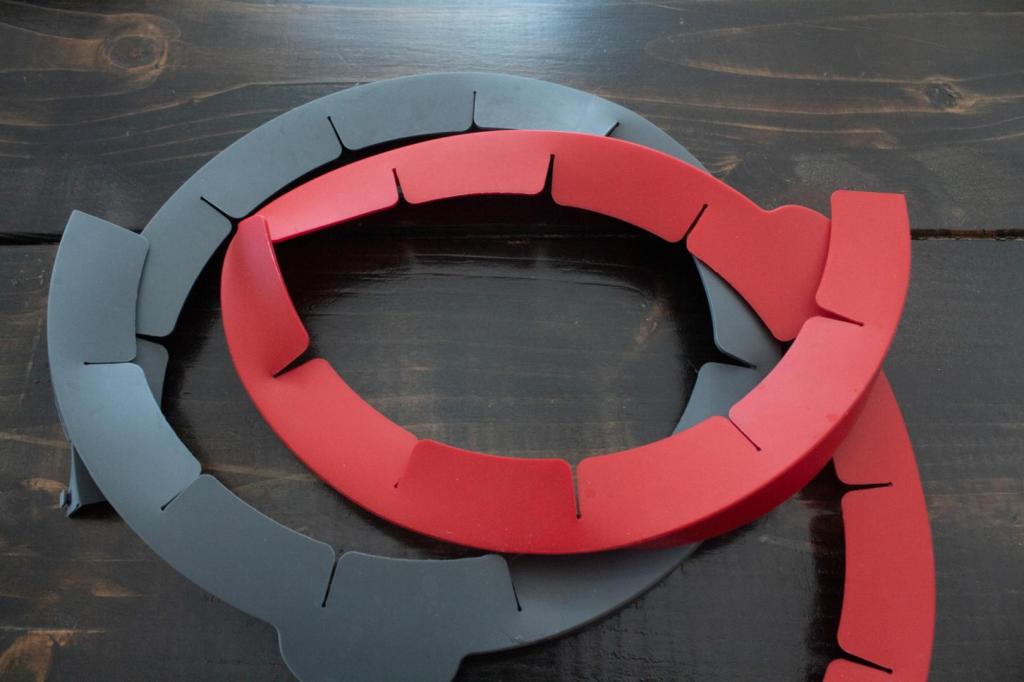
After all your hard work and following all my other tips, you don’t want to mess the pie crust up now. Not after you’ve made it this far. Now, you’ll want to bake it to the perfect color, so the crust doesn’t have a burnt taste or off color to it.
Using pie shields is the secret to perfect crusts that remain a light golden brown. (I use these pie shields HERE.) Simply add a silicone pie shield around the circumference of the pie just before baking. After the pie is finished and removed from the oven, let the shield ring cool on the pie and then remove later. (These get just as hot as the pie sometimes. I know from experience!)

3 thoughts on “5 tips for a perfect pie crust | pie crust tips”