Learn how to make trendy winter snowflakes as home decor for just $5. In this paper snowflake tutorial I’ll show you exactly how to make these unique pieces that can fill your home with winter holiday charm on even the tightest budget.
This post may contain affiliate links. Please read our disclosure policy.
Last year I decided I’d embark on transforming our household into a little winter wonderland for the holiday season. Which sounds like quite the task if you ask me…
What I ended up doing was learning how to make super easy paper snowflakes. They are so cheap and simple to make, although they do take a couple of hours to put together.
I have to say, I appreciate that I kept them stored away, too. This year all I have to do is hang them up again. I loved them so much that I knew they were worth keeping around.
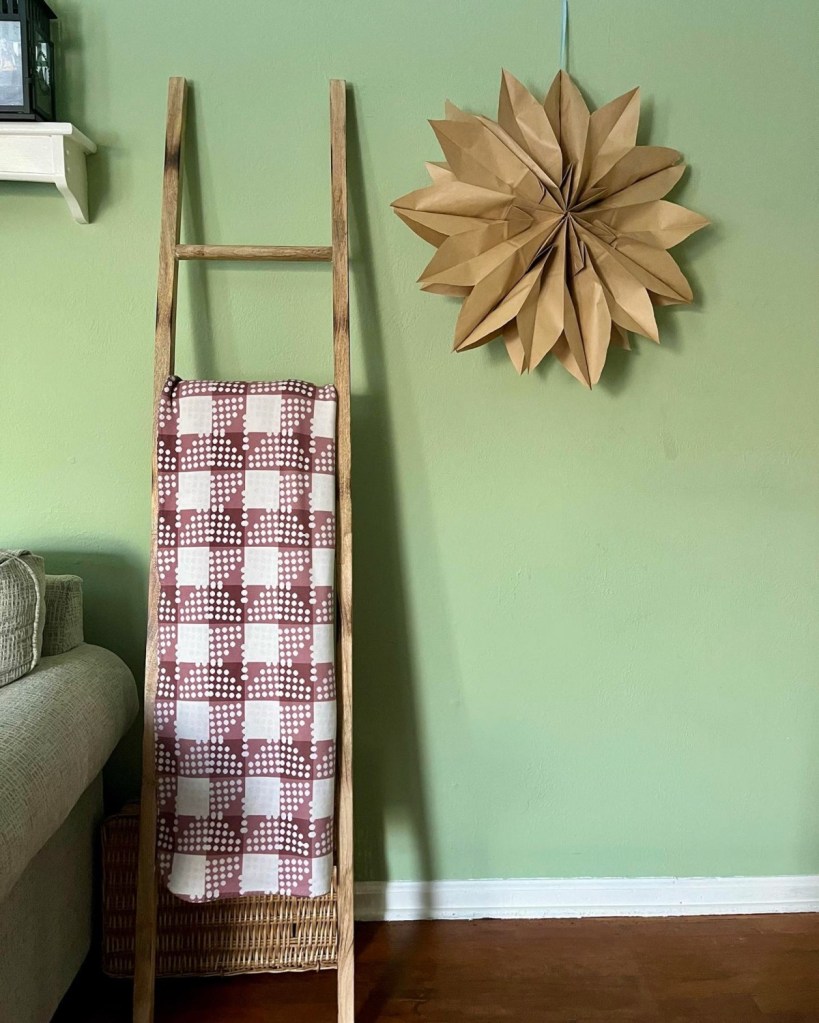
- The snowflakes are neutral so look good with any decor in any household.
- They can be decorated or customized for a more curated, unique style.
- Additionally, these paper snowflakes cost only about $5 to make a set of 7.
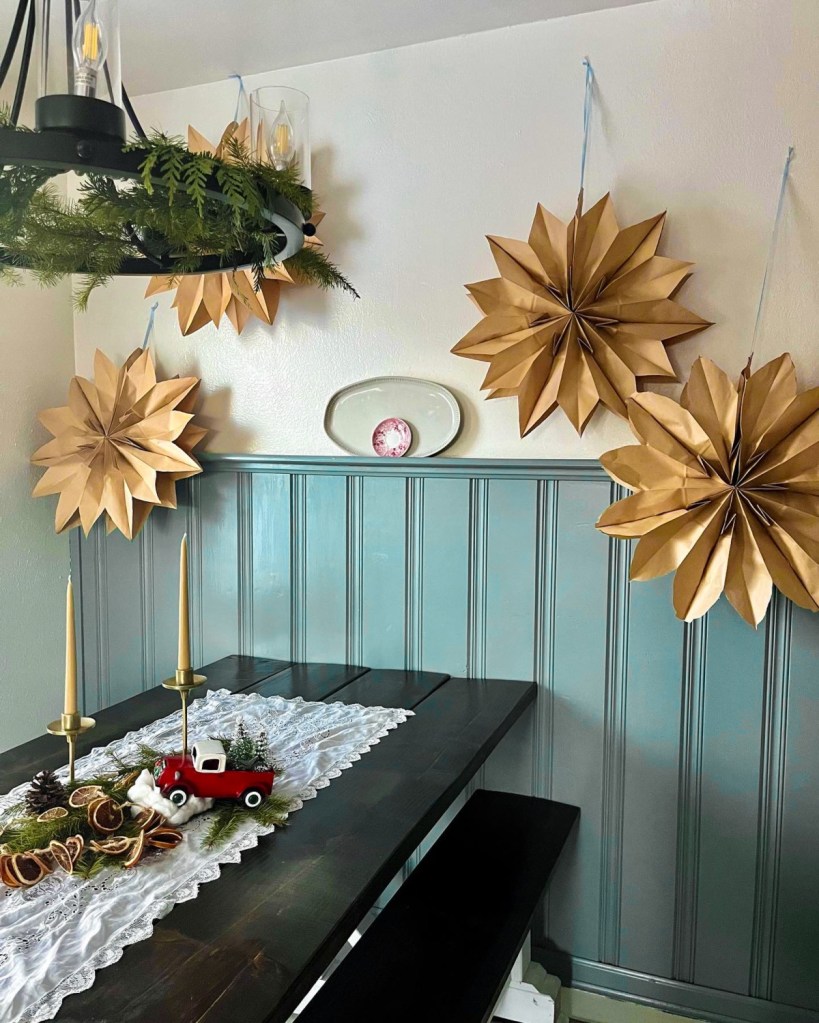
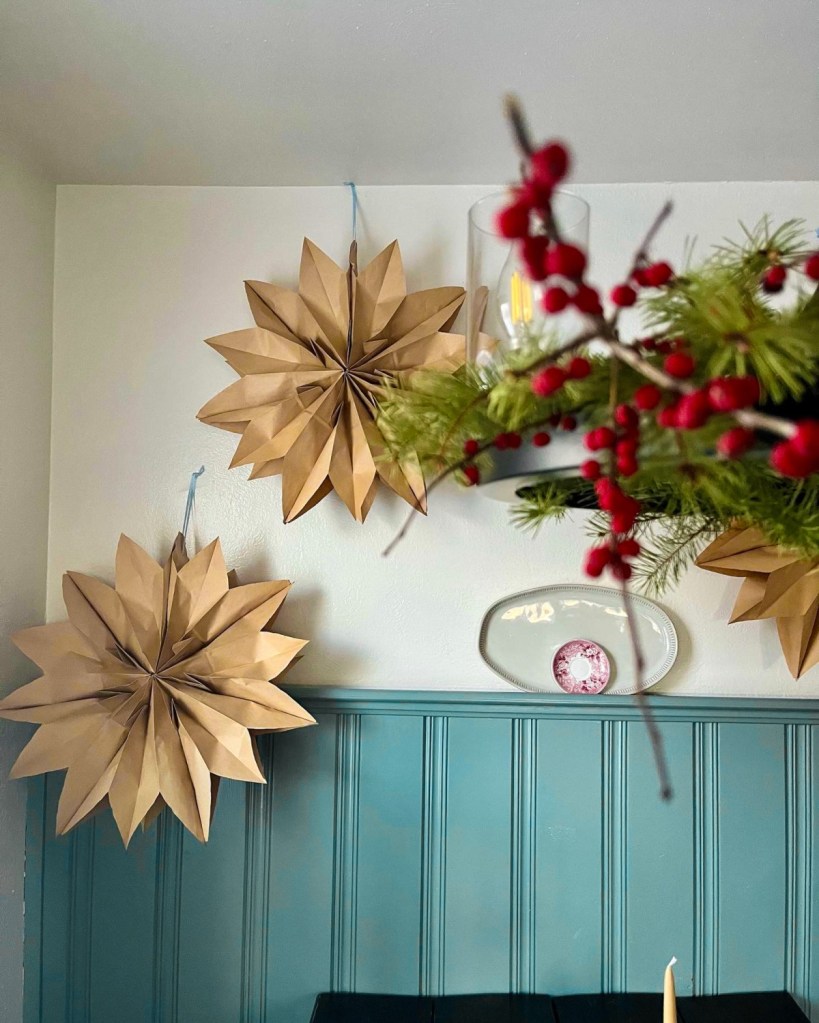
We ended up hanging them all over the kitchen and living room since these are the main living spaces in the home. I kept them up throughout the entire winter, too, not just for Christmas. Since they aren’t too holiday specific they can be up for an entire season–which I appreciate because that’s less work for me.
They really created an enchanting feeling in our home all winter long.
I even remember having family over for our Christmas Eve brunch and how magical it felt with these giant snowflakes hanging all over the walls. With just a few of these, it’s easy to transform an entire area.
That’s why today, I have a step-by-step paper snowflake tutorial to show you exactly how I created these beauties…
What is the best type of paper sack to use?
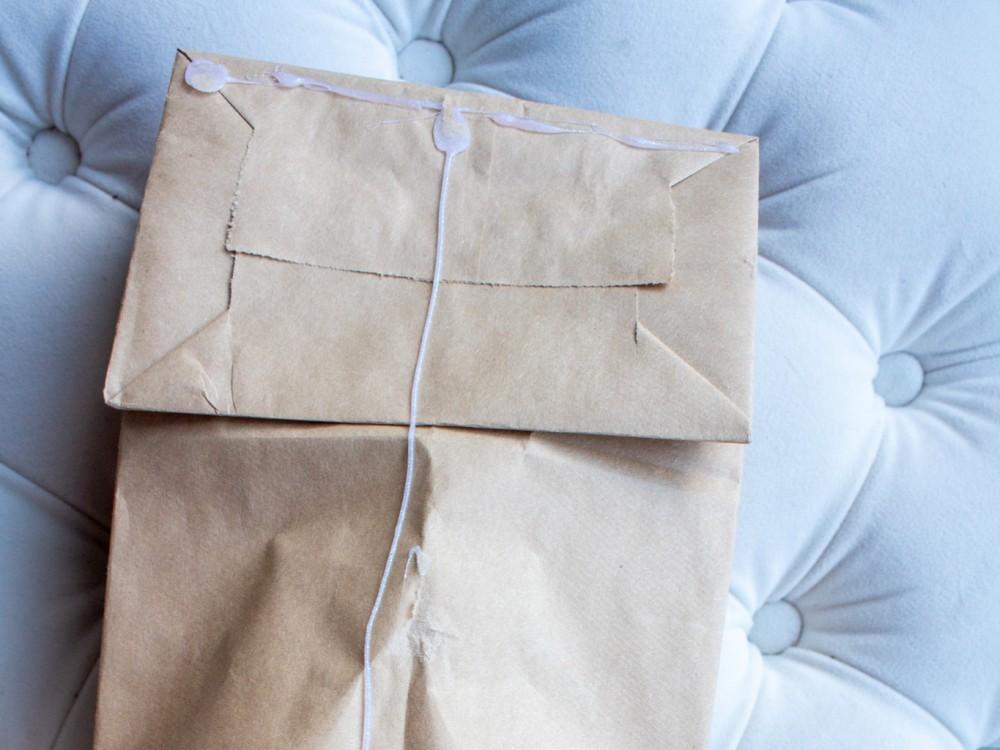
I highly recommend using standard plain lunch sacks. You know, the brown kraft paper ones we all grew up with. Not the fancy ones with handles (you’d just have to cut those off anyway). Not the colored ones (because of gluing them together the outside color won’t show). And not extra large ones either (the snowflakes will be plenty large already). You should be able to find a big package of these for less than $5 at a grocery store.
Can I make custom designs on my snowflakes?
I love this idea. You can absolutely cut more intricate designs into your snowflakes. There are so many fun designs, but I kept mine simple when I made them.
You could also add glitter or a bit of color to your snowflakes if you prefer painting them afterward, though that may be a bit time consuming.
Paper Snowflake Tutorial
Supplies | paper snowflake tutorial
Brown kraft paper lunch sacks (at least a package of 50 to make 7 snowflakes)
Scissors
Hot glue gun with hot glue sticks
Hole puncher
Ribbon
Tape, for hanging finished snowflakes
Steps | paper snowflake tutorial
Start by heating up the hot glue stick in the hot glue gun. Set aside as it heats.
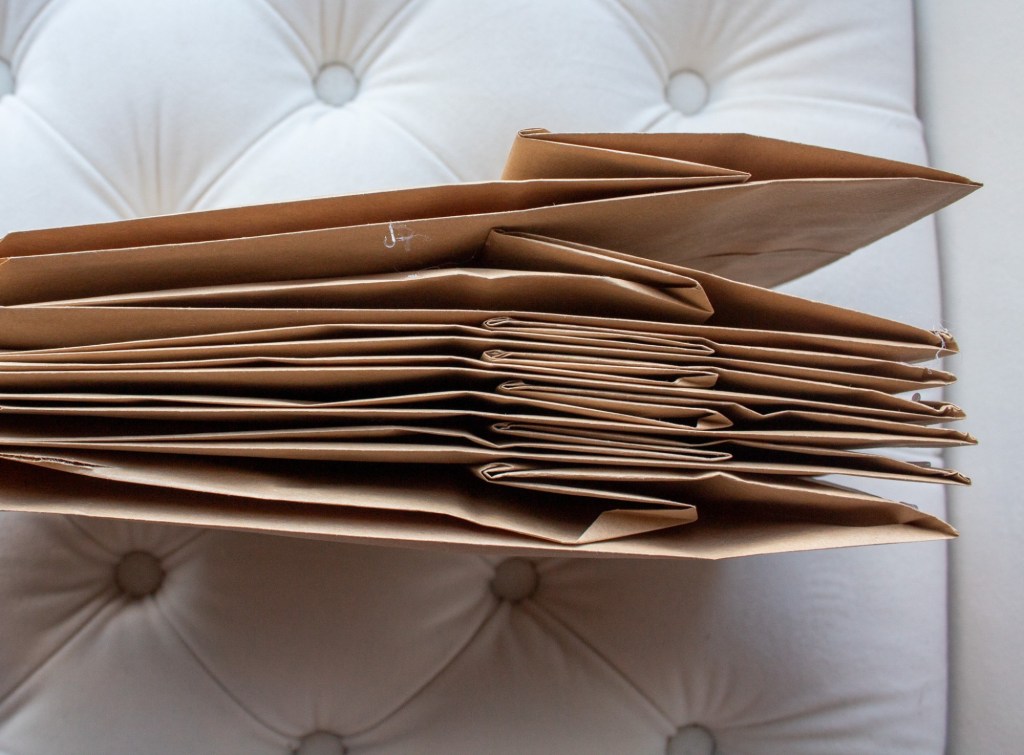
Make several piles of 7 paper sacks each, depending on how many snowflakes you want to make. (For example, I made 7 large paper snowflakes total. So I bought a pack of 50 brown paper sacks and made 7 piles of 7 sacks each, with one sack leftover.)
Now, make a “T” shape using the hot glue gun on a paper sack. Press the next sack on top ensuring it sticks well. Continue doing this until you have glued a total of 7 sacks together (one pile).
Continue doing this with each pile of sacks until you have 7 sets completed and glued together.
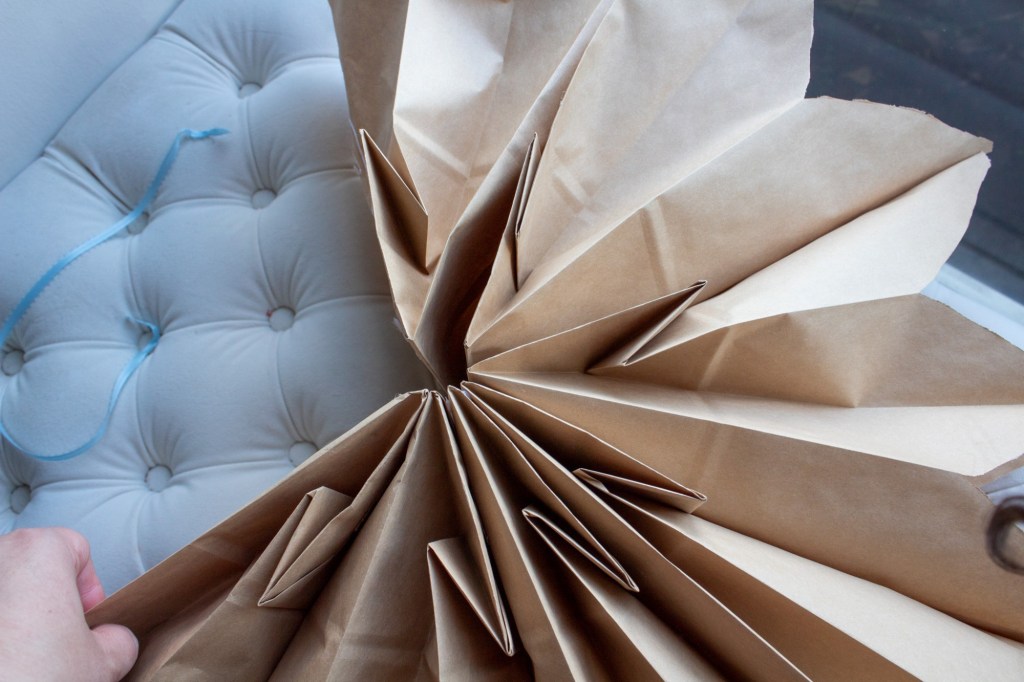
Using scissors, cut the corner edges off of the sacks in a curved manner, creating the snowflake point. Continue to do this for each snowflake.
Open each snowflake up, accordion style to view your completed snowflake. Glue the two ends together to keep them open and fanned out. Let dry.
Hole punch each snowflake and add ribbon to it (I used 6 to 12-inch pieces), tying the ends together to hang.
For best results, hang snowflakes against walls using tape.


Tips for Success | paper snowflake tutorial
If you try trimming the corners off the sacks after gluing the sacks together, but find it difficult for the scissors to cut through: Try cutting them first (stacking and cutting 3 or so at a time is much easier) before gluing them together. It’s best to test the first one before gluing all the other snowflake sacks together to make sure you can cut through all 7 at once.
I recommend a really strong clear tape like packing tape to hang these. They may need extra tape added over time if you plan on hanging them for weeks. I find that hanging them against walls is more beneficial because they have less force pulling them straight down (opposed to hanging them from ceilings or high chandeliers). Staircases are another great place to hang them against.

More Craft Projects
Antique Gold Rub n’ Buff Aged Picture Frame
DIY Textured Vase with baking soda and paint
How to Bleach Wood Decor with Clorox

Hi! Beauty in simplicity. I love it!
LikeLike
Timely post. Loved it and tried it out for the season’s decorations. Came out well. Thanks for the share.
LikeLike